Crafting Joy: A Beautifully Designed Handmade Birthday Card
Birthdays are a celebration of life, love, and the joy of making memories. What better way to express your heartfelt sentiments than with a handmade birthday card? In this post, we delve into the beauty of creating something unique—a new design that brings creativity and warmth to someone's special day.
The Inspiration Behind the Design
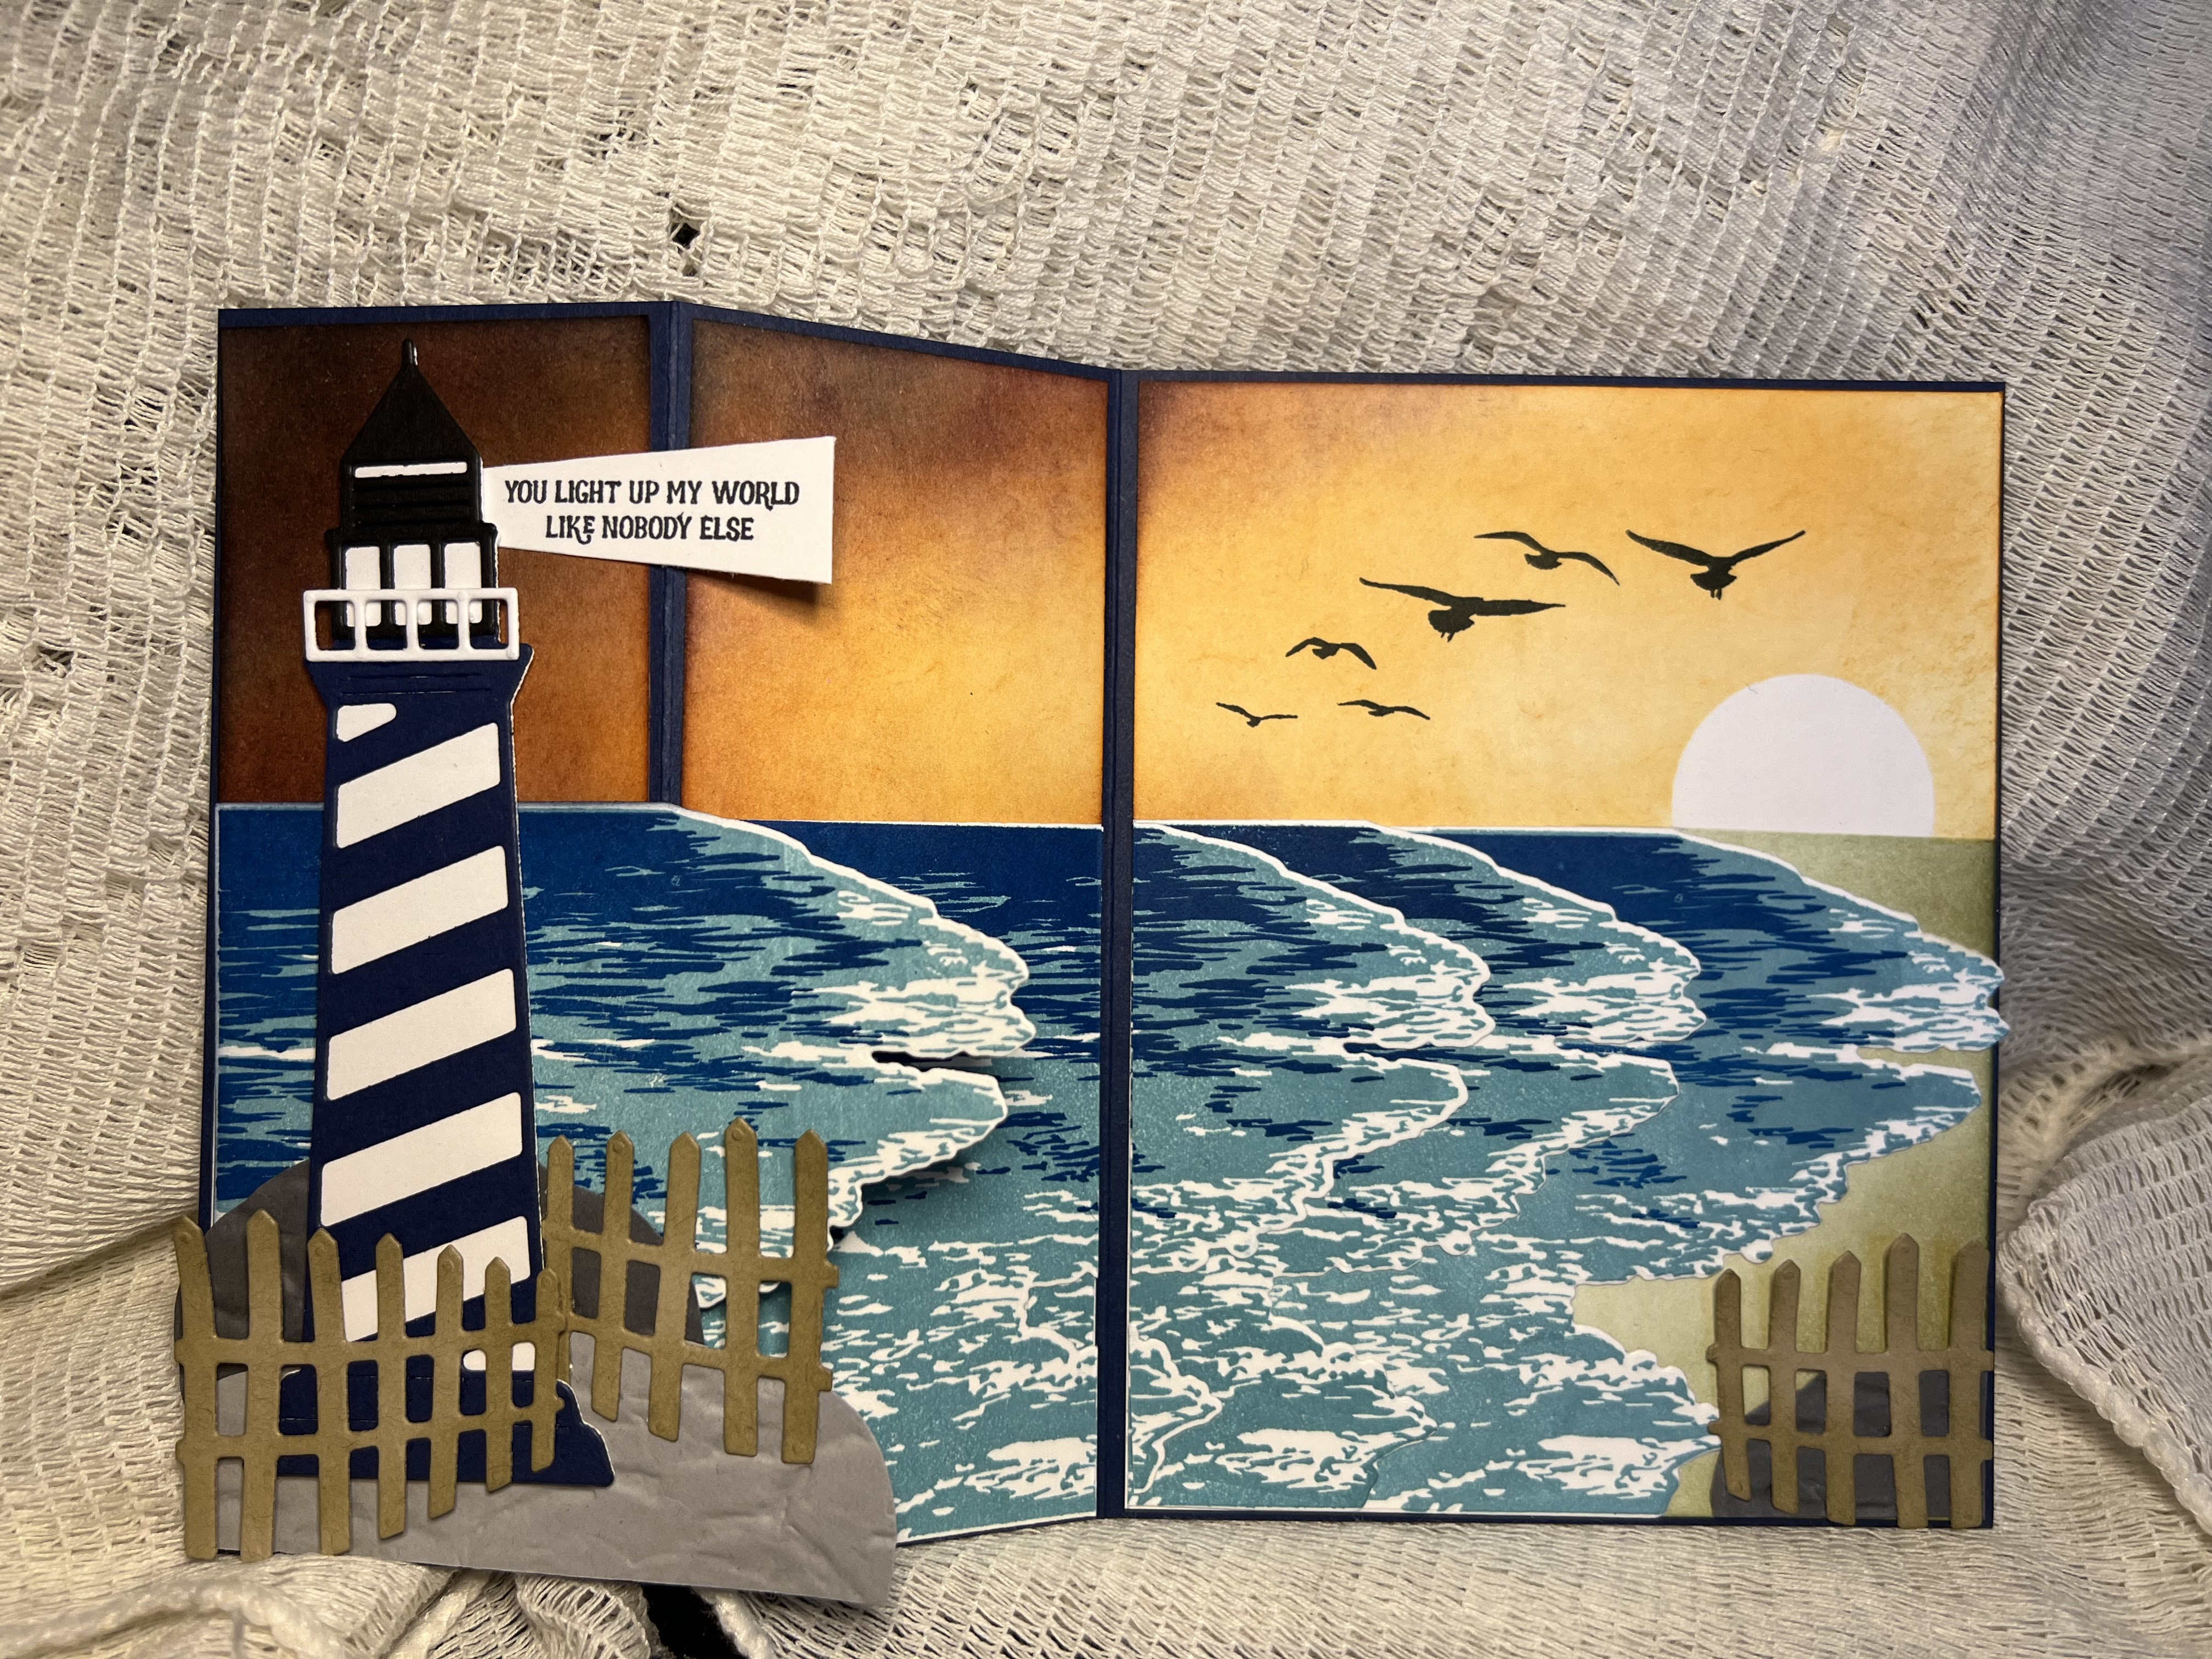
This handmade card was born out of the desire to blend elegance with a personal touch. Its design harmonizes vibrant colors, textured layers, and thoughtful embellishments that evoke the essence of celebration. The idea was to craft a card that's not just a greeting, but a keepsake—a little treasure to remind someone of how cherished they are.
A Peek into the Details
The card features a minimalist yet sophisticated aesthetic. Using a combination of die cuts and unique fold, it captures a balance between modern artistry and classic charm. The simple interactive design is easy to and fun to create.
The finished size of this card is 5 x 7. To create the easel, fold the base card in half and cut the outer edges at 1 or 1 1/4 inches. Fold the center panel in half to create the easel. And then decorate - just remember to only attach layers to the center panel.
I hope you have as much fun as I did making this card.
Happy crafting,
Kathie K.